Summary
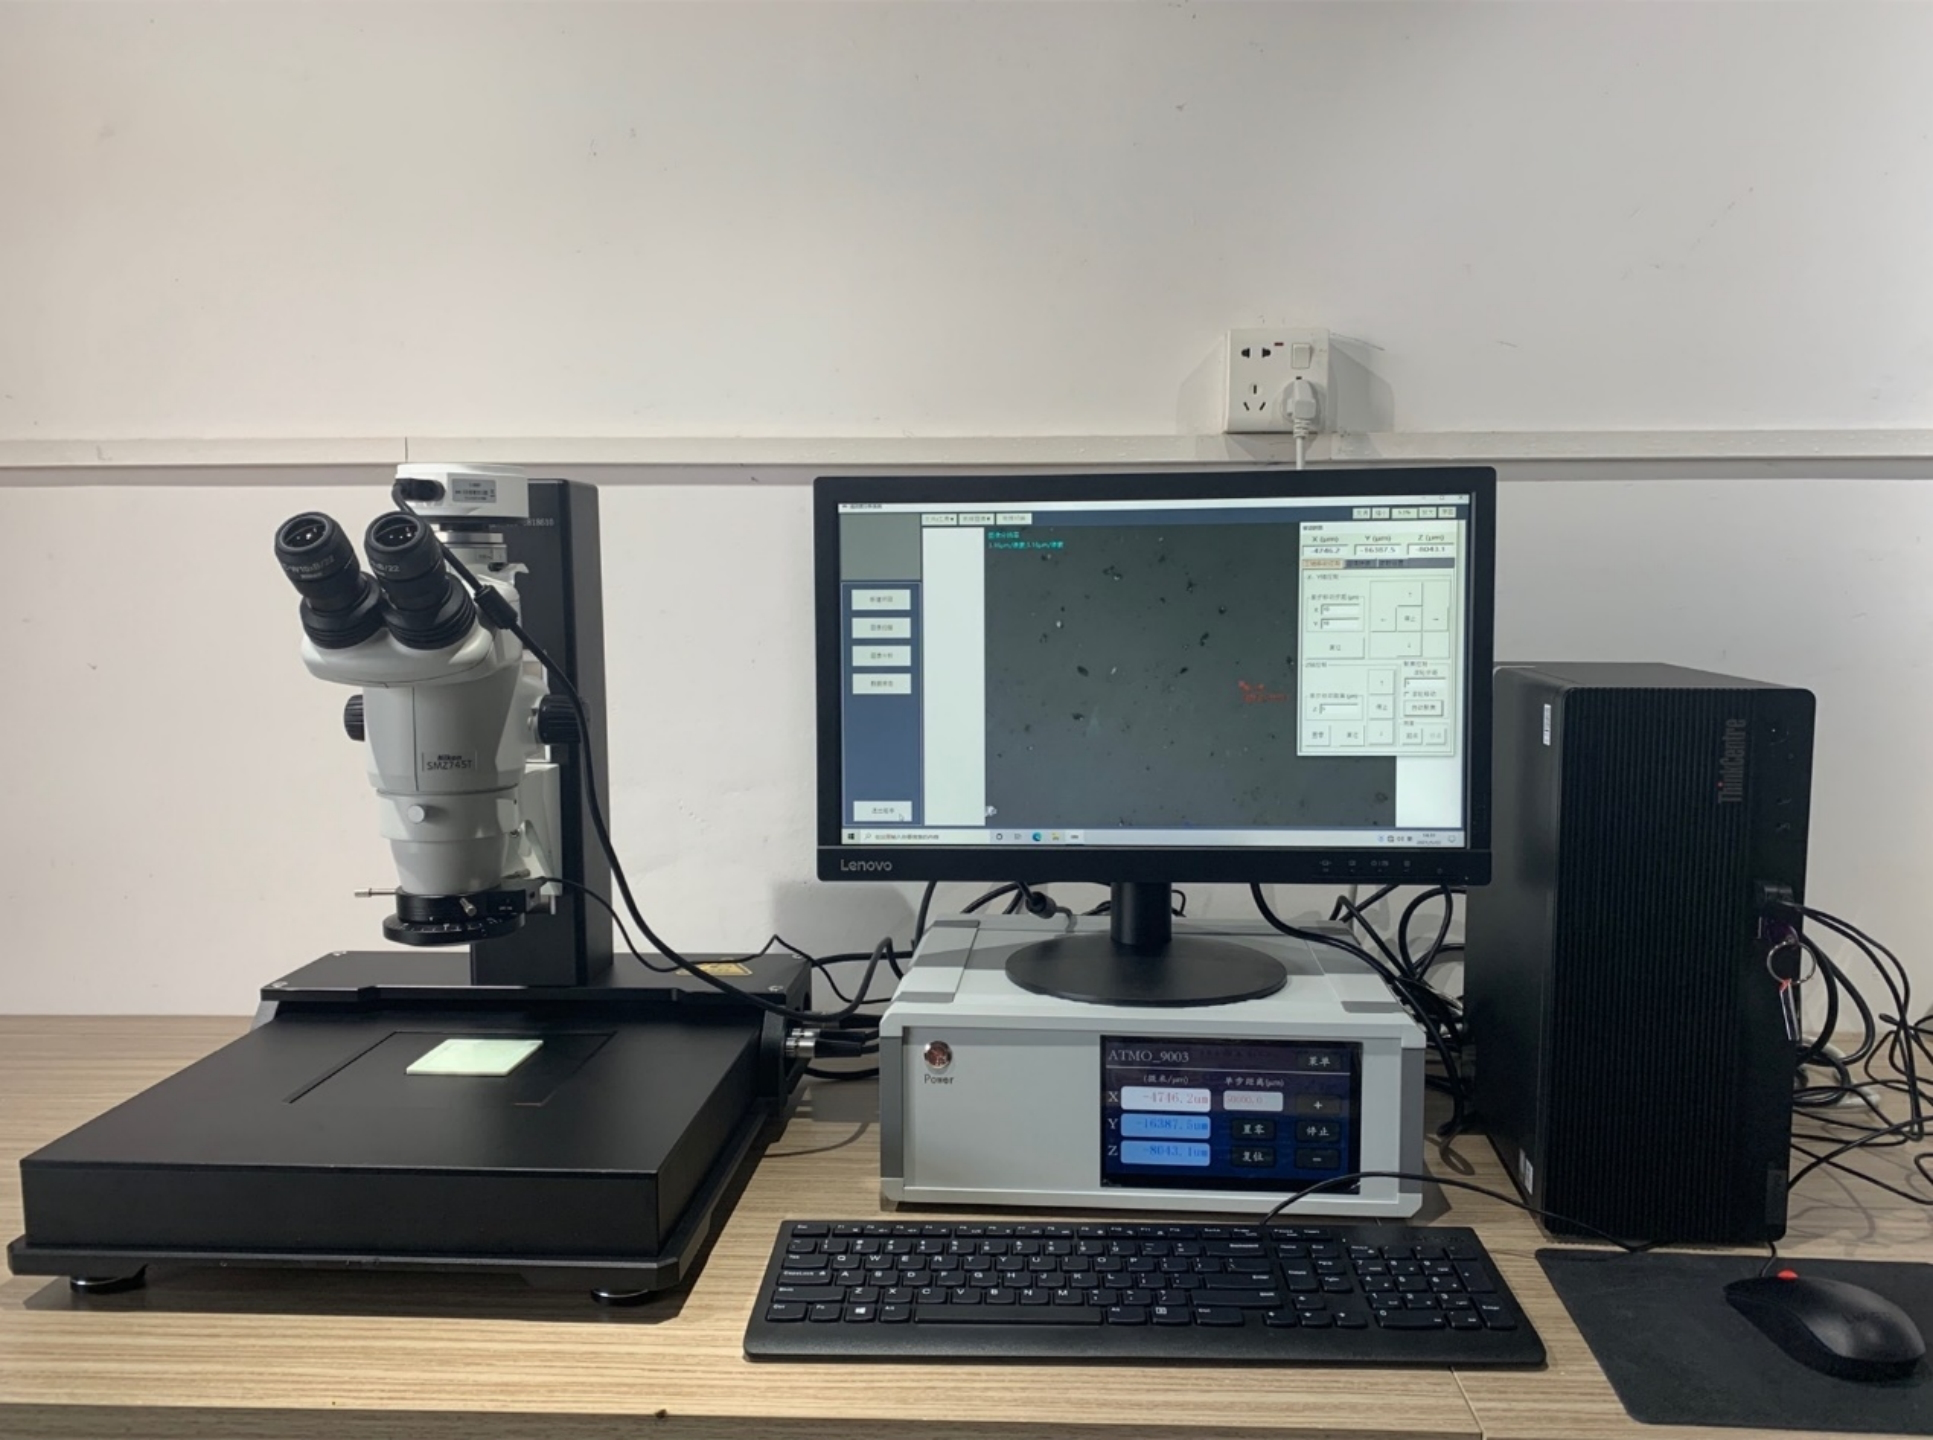
DJ-CA100 Technical Cleanliness Analysis System is a high-performance particle size testing system used in auto parts, aerospace, and hydraulic lubrication industries. It has the advantages of professional, standardization, and test results traceable. The system integrates imported optical microscope, high stable motorized stage, automatic analysis software, HD image scanning CCD, with high automation, workflow design mode, simple operation, capture images fast and efficient, automatic compensation and focus to ensure that each frame of image is clear, seamless browsing, Intelligent recognition statistics, and according to selection criteria generate results and reports. All the analysis process based on ISO16232, VDA19 and other standards to meet the cleanliness testing standards of major automobile factories such as Volkswagen, BMW, GM, Ford, and support user-defined standards.
Applications
DJ-CA100 Technical Cleanliness Analysis System full compliance with the requirements of VDA 19.1-2015, ISO 16232, ISO4406 and ISO 4407, QV11111 and customer-defined standards. Adopted optical polarization technology, manually rotate the polarization device, the metallic luster reflection properties of all pollutants on the entire filter can be determined by two scans. At the same time, according to the morphological definition of fiber in VDA19.1 (stretch length/maximum inscribed circle diameter>20, maximum inscribed circle diameter≦50 microns), the classification and classification of the following four types of particles can be quickly and automatically completed within a few minutes. Size measurement: reflective particles, reflective fibers, non-reflective particles, non-reflective fibers.
Features
HD Optical Microscopic
Adopt HD Microscopic with a large zoom ratio, the zoom body is adjustable from 0.75-4.5X, and the total magnification is adjustable from 7.5-45X, suitable for Testing of impurities above 15 microns; 5MP color CMOS digital camera, pixel size 2.2× 2.2 μm, which meets the requirements of at least 10 pixels arranged on the maximum length of particles specified in the VDA19.1-2015 and ISO 16232-2007 standards;
High-precision scanning platform
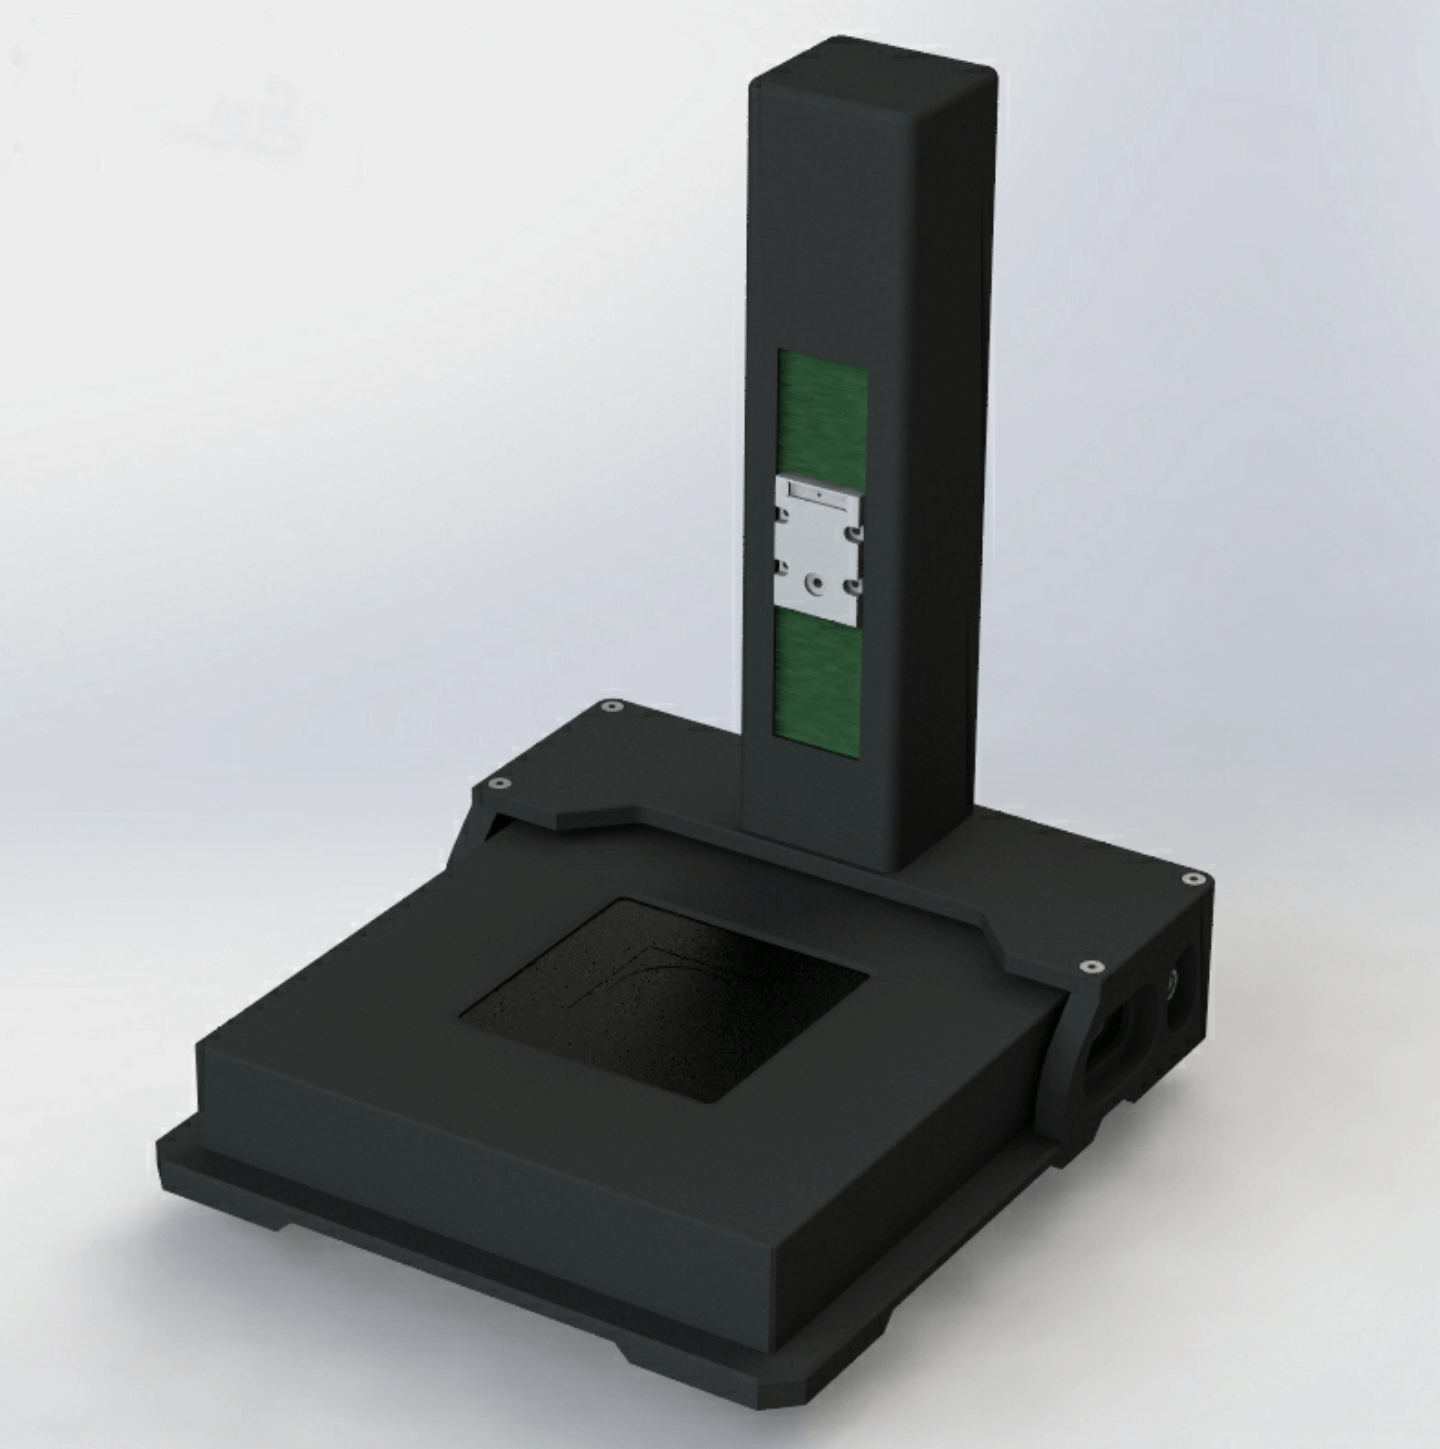
Using high-precision two-axis electric scanning platform and high-precision auto-focusing system (optional), one-key auto-focusing of the filter membrane can be used to make the scanning accuracy more accurate, make the Testing uniform, and the intelligent cleanliness analysis software can automatically take pictures, Automatic focus, automatic control scanning, automatic identification and analysis to ensure that the particles are not missed or misjudged, and the Testing efficiency is high;
The automatic inspection and analysis process automatically scans the entire sample (usually filter paper), automatically takes pictures, automatically recognizes, counts, and analyzes particles, automatically checks cleanliness, and automatically generates professional analysis reports;
X\Y\Z three-axis mouse automatic control
Maximum range 70×70mm*50mm
Maximum speed 120 mm/s
Digital camera
HD true color, HD, high-resolution, high dynamic response, USB3.0 high-speed interface, real-time acquisition and simultaneous capture of images; support Chinese and English display and input operations; and include an interface with the microscope, effective physics 5MP.
Internal automatic polarized light source (optional)
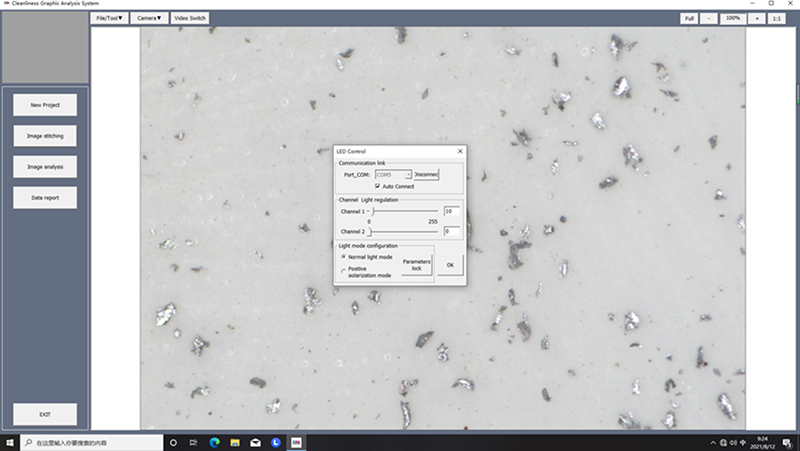
With a dedicated digital light source controller, the software automatically controls normal light and polarized light, automatically sets the brightness of the light source, scans the filter once, and realizes the identification of metal and non-metal reflective particles. Low power consumption, high-brightness LED, lifespan of up to 20,000 hours, lifelong maintenance-free.
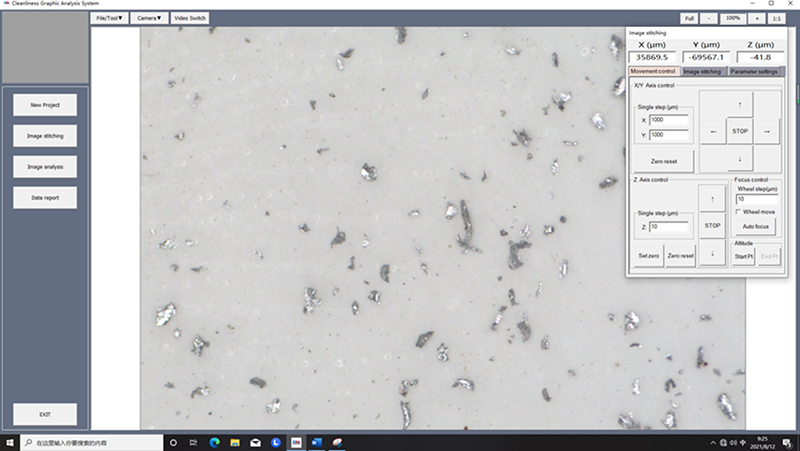
Simple and intelligent operation interface, the scanning range and automatic or manual polarization mode can be set in the software.
Multiple testing standards
Support multiple national and international standards: including ISO4406, ISO4407, ISO16232, NAS1638, VDA19, GB/T 20082, GB/T 14039, etc.;
standards can be entered for automatic Testing of cleanliness and particle size; fiber statistics can be performed; The system regularly updates the latest standards.
Scanning sample and settings diversified
Supports scanning areas of various shapes: rectangular area, circular area, etc., supports multiple scanning paths to meet the needs of various applications;
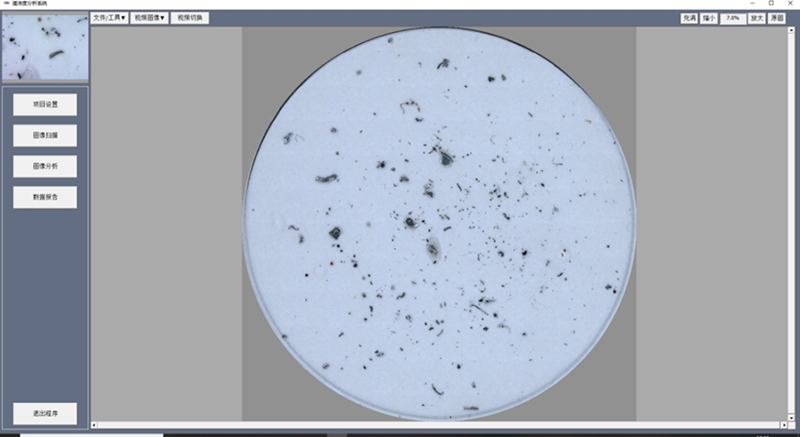
Auto-capture, positioning, and retrospective remake
Auto-capture in the scanning process, auto-save, progress is visible in real time; photo information save to the database and simply to inquire;
And the information and pictures of the sample can be encrypted to prevent unauthorized viewing and modification. Provides the viewing and checking function of the field of view pictures, which can realize the functions of Positioning backtrack, fixed-point view or re-photograph of each field of view.
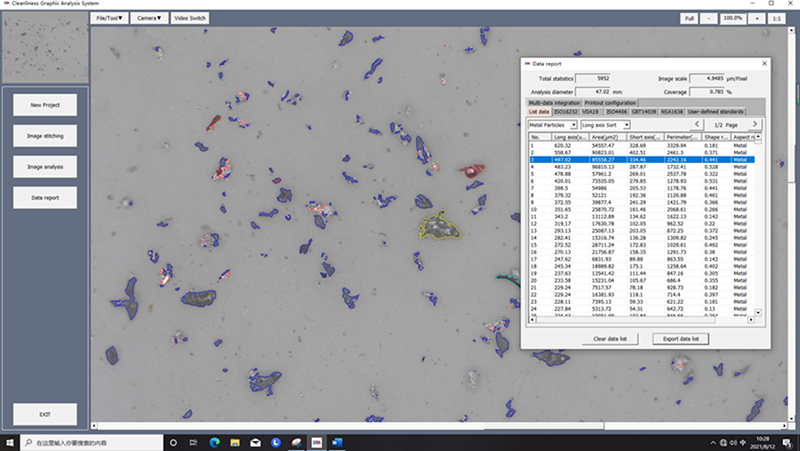
Innovative automatic polarized light technology, scanning the filter once, realize the identification of metallic and non-metallic reflective particles
The cleanliness testing system adopts innovative automatic polarized light technology. It only needs to scan the filter film once to appraisal the metallic and non-metallic reflections of the particles on the filter film. Compared with the traditional polarized light technology, the filter film needs to be scanned twice (1 time under orthogonal polarized light and 1 time under parallel polarized light), the scanning Testing time is doubled.

The system can auto-set the prescribed exposure time and threshold in compliance with VDA19.1-2015
It can auto-set the prescribed exposure time and threshold, perform sample testing to meet the requirements of the above-mentioned standards. At the same time, the functions of manual exposure and manual threshold are still retained, and users can freely choose according to their needs.
In order to make the analysis results comparable,VDA19.1-2015 has clearly stipulated the threshold parameter of the image gray scale of the optical microscope that uses the polarization to distinguish between particles and the background of the filter film.: the maximum gray value of the filter film background must be set At 55%±5% of the entire gray value (by adjusting the light source brightness and camera exposure time), the binary threshold is set at 70% of the maximum gray value, and the part on the left side of the gray threshold is recognized as particles.
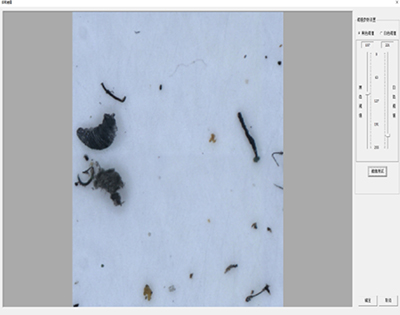
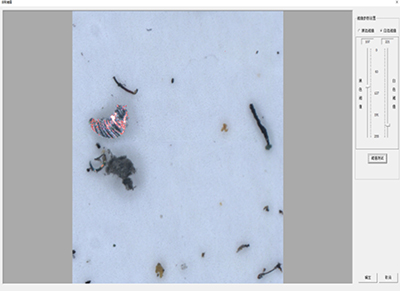
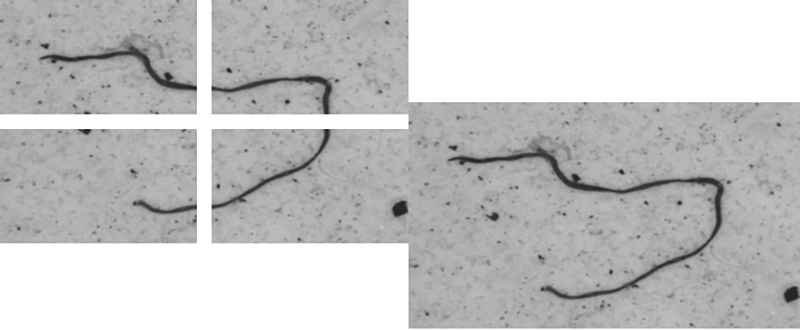
Supports super-large particles across the field of view and auto-calibration the offset, so that pictures can be seamlessly stitched.
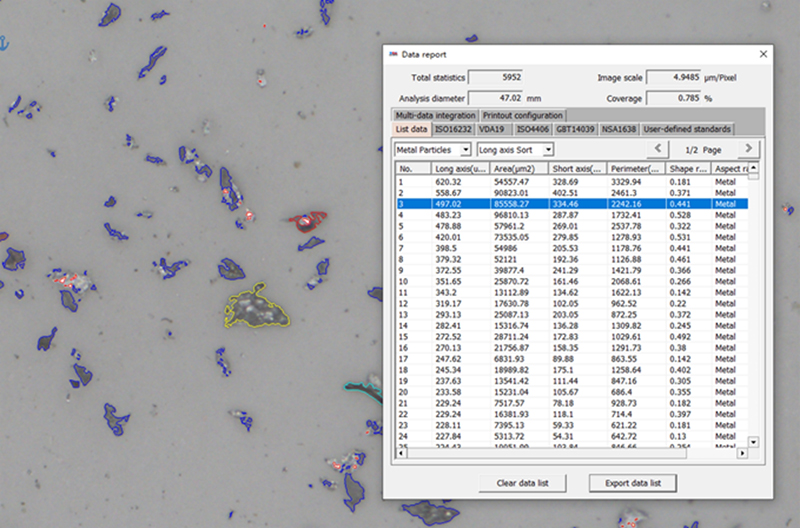
The system auto-recognizes particles, auto-analyzes particle types, auto-counts particle parameters, and supports modification of particles; provides multiple statistical analysis tools: particle list, statistical results, etc.;
Measurement statistics and analysis
The system auto-recognizes particles, auto-analysis particle types, and auto-counts particle parameters. multiple statistical analysis tools can be provided: particle list, statistical results, etc.;
Cleanliness Testing Report (VDA19)
Support template report generation mode, including statistical data, rating, filter picture, maximum particle photo and other information; Multiple report modes are available.
Microscopic image analysis | ||||
Scale | 4.3801 μm/Pixel | Analysis diameter[mm] | 46.31 | |
Particle count | 26585 | Filter membrane coverage | 0.55% | |
Standard | VDA19 | |||
Class | X range μm | Total All (Except fiber) | Total Metal | Total Fiber |
B | 5<=X<15 | 11619 | 10 | 0 |
C | 15<=X<25 | 6954 | 14 | 0 |
D | 25<=X<50 | 5477 | 49 | 0 |
E | 50<=X<100 | 1775 | 97 | 0 |
F | 100<=X<150 | 406 | 134 | 0 |
G | 150<=X<200 | 158 | 105 | 0 |
H | 200<=X<400 | 139 | 118 | 19 |
I | 400<=X<600 | 10 | 9 | 8 |
J | 600<=X<1000 | 6 | 6 | 6 |
K | 1000<=X<1500 | 2 | 2 | 5 |
L | 1500<=X<2000 | 0 | 0 | 1 |
M | 2000<=X<3000 | 0 | 0 | 0 |
N | X>=3000 | 0 | 0 | 0 |
|
|
Regular image | Polarization image |
No. 1 non-metallic particles 572.25 X 171.33 μm | |
| Area = 71282.89μm2 Long axis = 572.25μm Short axis = 171.33μm Circumference = 1568.47μm Length-width ratio = 0.30μm Shape ratio = 0.28μm Center coordinates [7922.0,7763.9] particles type = Non-Metal |
No. 2 non-metallic particles 396.85 X 168.42 μm | |
| Area = 19444.28μm2 Long axis = 396.85μm Short axis = 168.42μm Circumference = 1499.89μm Length-width ratio = 0.42μm Shape ratio = 0.16μm Center coordinates [6654.9,4611.2] particles type = Non-Metal |
No. 1 metal particle 1436.59 X 434.10 μm | |
| Area = 411476.21μm2 Long axis = 1436.59μm Short axis = 434.10μm circumference = 5221.75μm Length-width ratio = 0.30μm Shape ratio = 0.25μm Center coordinates [6455.9,9917.5] particles type = Metal |
No. 2 metal particle 1171.79 X 230.73 μm | |
| Area = 147045.55μm2 Long axis = 1171.79μm Short axis = 230.73μm Circumference = 3263.66μm Length-width ratio = 0.20μm Shape ratio = 0.14μm Center coordinates [4678.7,7678.0] particles type = Metal |
No.1 largest fiber particle 1977.19 X 2648.01 μm | |
| Area = 27003.28μm2 Long axis = 1977.19μm Short axis = 2648.01μm Circumference = 5363.93μm Length-width ratio = 1.34μm Shape ratio = 0.01μm Center coordinates [3570.4,6157.0] Particle type = Fiber |
No.2 largest fiber particle 1311.49 X 1253.41 μm | |
| Area = 15357.81μm2 Long axis = 1311.49μm Short axis = 1253.41μm Circumference = 3467.01μm Length-width ratio = 0.96μm Shape ratio = 0.01μm Center coordinates [7672.8,4207.4] Particle type =Fiber |
Conclusion | Conformity |
Supply List
No. | Item | Specifications | QTY | Unit | Remarks |
1 | HD optical microscope | Olympus, Nikon | 1 | Set | Include in quotation. |
2 | High precision electric scanning platform + holder | 1 | Set | ||
3 | High-precision autofocus system | 1 | Set | ||
4 | Cleanliness analysis software | V1.1 | 1 | Set | |
5 | Manual polarizing system | 1 | Set | ||
6 | Filter membrane positioning tooling | 1 | Set | ||
7 | Membrane clamp | 1 | Set | ||
8 | Scan platform control box | 1 | Set | ||
9 | CCD HD camera | 1 | Set | ||
10 | Computer | Lenovo | 1 | Set | |
11 | Dongle serial number | 1 | Set | ||
12 | Documents (Manual, QC) | 1 | Set |
Note:
The DJ-CA100 Cleanliness Analysis System can use wide range of optical microscope from China made to Olympus, Nikon, Leica.
The Manual polarizing system also can be Automatic polarizing system.